
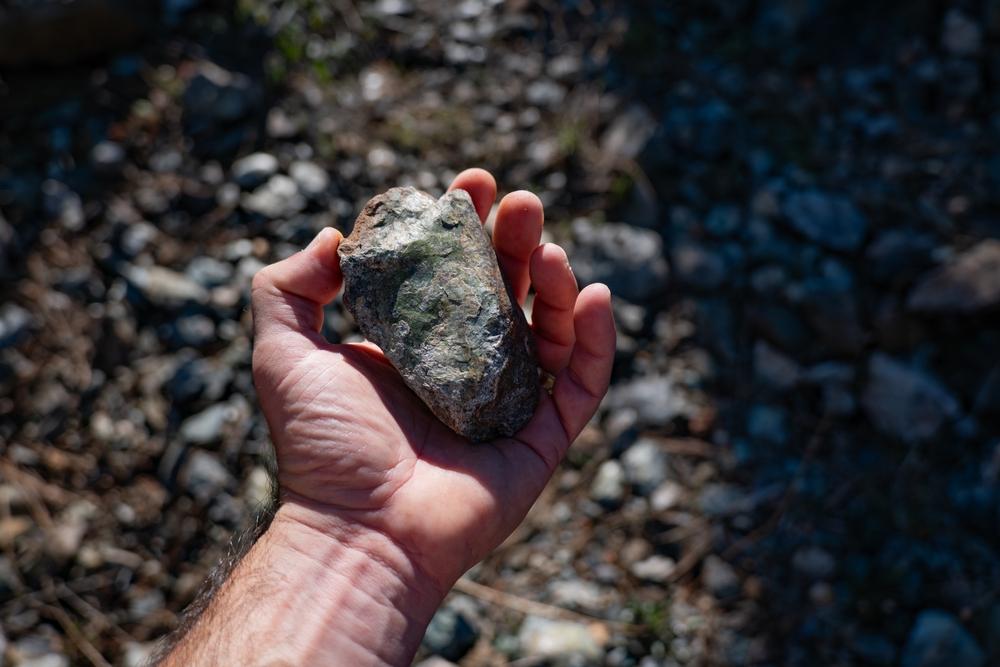
Cleaning your collection of rock and mineral finds properly is essential to making a beautiful display. By cleaning, you can turn a gravel-looking quartz into glass, or a geode caked in clay and road dust into perfect amethyst crystals once the exterior gets a serious scrub.
Cleaning is the first step every collector takes after every field trip, and it goes beyond cleaning with soap and water. This guide covers every practical cleaning method from a bucket of soapy water to oxalic acid, organized from safest to most advanced. Each method includes what it's right for, what it will ruin, and what to watch out for. Work through the methods in order, start at the top, and escalate only when the simpler method isn't enough.
Before You Start: Identify What You Have
Before you start cleaning your rock and mineral, it is important to identify the rocks, as this will help you know the right methods to use for the best results. Methods that clean one mineral will ruin another, sometimes irreversibly. Three things to establish before cleaning anything:
Hardness: Every rockhound must have some knowledge of the Mohs scale, as this determines the hardness or toughness of the rock. Rocks or minerals below Mohs 5 (calcite, fluorite, apatite, selenite, malachite, halite) are very soft and can be scratched easily by abrasive brushes. Know your mineral's hardness before deciding how aggressively to approach it.
Water solubility: Some minerals dissolve in water. Halite (rock salt) or epsomite (Epsom salt mineral) will be visibly smaller after a water soak or gone entirely if left long enough. These must be cleaned with dry methods or isopropyl alcohol only. Selenite and gypsum are not fully water-soluble but are damaged by prolonged soaking. When in doubt, test with a single drop of water on an inconspicuous surface before committing to a soak.
Chemical reactivity: Calcite and all carbonate minerals react with acids, including vinegar. An acid that removes a calcite coating from quartz will dissolve a calcite crystal entirely, given enough time. Knowing the chemical family of what you're cleaning prevents the most common and irreversible cleaning mistakes.
If you cannot identify a specimen with confidence, start with the gentlest method and test on a small, hidden area before working the full surface. Never test a new cleaning method on your best specimen first. Start with something you can afford to lose.
Read More: How to Identify Minerals and Rocks: A Comprehensive Guide for Rockhounding Enthusiasts
Tools You Need for Home Cleaning

Cleaning rocks and minerals does not need many tools; just have the essentials handy. Before starting, gather:
Dedicated buckets: A bucket is essential for soaking the rocks/minerals in water. Preferably plastic, as metal reacts with cleaning chemicals and contaminates your solutions. Never use your kitchen sink for rock cleaning; the sediment, grit, and eventual chemical residue accumulate in pipes. A pair of five-gallon plastic buckets, one for cleaning and one for rinsing, handles every method in this guide.
Brushes: Get an old toothbrush (soft bristle) or buy a new one dedicated to cleaning. Soft brushes are good for delicate crystals and minerals below Mohs 6, a medium-bristle brush for general use, and a stiff nylon brush for robust hard minerals. Never use wire brushes on any mineral you care about; they scratch surfaces above the wire's hardness and leave metal particles that cause rust staining.
Dental tools and wooden picks: This comes in handy for removing clay and matrix from crystal cavities and crevices. Wooden toothpicks are safe on any mineral. Steel dental picks are effective on hard minerals (quartz, garnet, tourmaline, beryl) but will gouge anything below Mohs 5.
Rubber or nitrile gloves: Wear gloves for protection, especially if you are doing any chemical method beyond soap and water. Not optional for oxalic acid.
Safety glasses: For any chemical work. Splashes happen, and you do not want anything getting into your eyes.
Baking soda: This is important for neutralizing acid solutions before disposal and for emergency neutralization if acid contacts skin.
Distilled water: Use distilled water over tap water for chemical solutions and final rinses. Tap water contains dissolved minerals that can leave white deposits on specimens, particularly after evaporation. Distilled water costs very little and produces cleaner results.
How to Clean Rocks and Minerals at Home
Method 1 — Cleaning with Soap and Water

Cleaning with soap and water is the safest, most effective way to strip off field grime and see what you're really working with. A surprising number of specimens that look like they need aggressive cleaning turn out to be perfectly fine once the surface dirt is gone. Soap and water work for tumbled stones, agate slabs, jasper, petrified wood, geode exteriors, and most quartz specimens with surface dirt.
First, start by rinsing with plain water. Hold the specimen under lukewarm running water and gently rub away loose dirt with your fingers.
Then soak — especially if the rock is caked in clay or heavy dirt, soak it in distilled water for several hours or overnight. This softens debris and makes brushing safer. Change the water if it gets cloudy.
After soaking, scrub with a nylon brush or toothbrush. Work methodically across the surface, paying attention to crevices. Use dental picks or wooden toothpicks to clear clay from cavities and crystal pockets.
If you are dealing with greasy residue or embedded grime, add a few drops of mild, pH-neutral dish soap to a bucket of warm water. Dip your brush in the suds and scrub gently. Don't let the specimen sit in soapy water for long. Rinse thoroughly afterward; leftover soap can leave a dull film or even damage the mineral over time.
Finish with a clean rinse. Distilled water is best for the final rinse, since it prevents tap water minerals from leaving spots as the specimen dries.
Air dry in the shade. Direct sunlight can cause thermal shock.
Method 2 — Vinegar for Calcite Coatings
Vinegar is the simplest and safest way to remove calcite crusts from many rocks and mineral specimens. The white or cream-colored coating you see on quartz crystals, geodes, and agates is often calcite. This mineral forms when groundwater deposits calcium carbonate on the surface of a rock over time. It can hide crystal detail, dull the color of the specimen, and in heavy cases, completely mask what's underneath. Vinegar works because it contains acetic acid, which dissolves calcite slowly and safely.
Test First: Before committing to a soak, place a few drops of white vinegar on the coating and watch for about 30 seconds. If you see fizzing or bubbling, even slightly, the coating contains calcite, and vinegar will dissolve it.
Then start cleaning by placing the specimen in a plastic bucket and covering it with undiluted white vinegar.
Light calcite coatings may dissolve in a few hours. Heavier deposits often require two to four days, sometimes longer. Check the specimen periodically during the soak and scrub gently with a soft toothbrush. This removes loosened material and exposes fresh calcite to the acid, so the process continues working.
After the soak, rinse properly. Acid can remain trapped in cracks and crevices, where it will continue dissolving minerals long after the specimen has been removed. To prevent this, rinse the rock thoroughly under running water and then soak it in clean distilled water for several hours.
Never use vinegar on specimens that contain calcite themselves, because the acid will dissolve the mineral.
Method 3 — Iron Out for Iron Staining
Iron staining is one of the most common problems rock collectors run into. It appears as reddish-brown, orange, or yellow discoloration on the surface of minerals and is caused by iron oxide deposited from groundwater. Quartz crystals from iron-rich environments, geodes from clay soils, and agates from iron-bearing formations often develop this kind of staining.
Iron Out (often sold as Super Iron Out) is usually the best first treatment to try. It works differently from acids. Instead of dissolving the mineral surface, it chemically converts iron oxide into a water-soluble form that rinses away. This makes it gentler on most silica minerals while still being effective on light to moderate staining.
Start by mixing Iron Out powder with distilled water in a plastic bucket. A light solution of about two ounces of powder per gallon of water works for mild staining. Heavier stains may require a stronger solution of up to eight ounces per gallon.
Place the specimen in the solution and allow it to soak for several hours or overnight. After soaking, remove the rock and scrub it gently with a stiff brush to remove any loosened iron deposits.
Rinse thoroughly under running water and then soak the specimen in plain water for at least twenty-four hours. Change the rinse water two or three times to flush out any remaining chemicals.
Iron Out works well for light to moderate staining, but it does have limits. Deep, heavy iron deposits — especially the dark reddish staining sometimes found on quartz — may only lighten rather than disappear completely. If the stain remains after treatment, a stronger method such as oxalic acid may be needed. Iron Out works best on quartz crystals, geodes, agates, and most hard silica minerals. It should not be used on calcite, malachite, or softer minerals below about Mohs hardness 5.
Read More: DIY: How to Polish Rocks Without a Tumbler
Method 4 — Oxalic Acid for Stubborn Iron Staining
Oxalic acid is the standard solution for iron staining that milder treatments cannot remove. Many experienced quartz collectors rely on it when they need a deeper, more thorough cleaning.
Oxalic acid is commonly sold as wood bleach at hardware stores and from lapidary suppliers. It is more powerful than Iron Out and works especially well on heavy iron deposits, but it requires careful handling.
Start by mixing oxalic acid powder with distilled water in a plastic bucket. Never use metal containers. A typical solution uses about half a cup to one cup of powder per half gallon of distilled water.
Before placing the specimen into the acid solution, soak it in plain distilled water for about an hour. This step fills small cracks with clean water and helps prevent iron compounds from redepositing inside fractures during the cleaning process.
At room temperature, specimens can soak in the solution for two to five days. Check periodically to see how the cleaning is progressing.
For faster results, the solution can be gently heated in an old crockpot dedicated to rock cleaning. Heating the solution to around 180–200°F can reduce the treatment time to just a few hours. The solution should never be boiled.
During the cleaning process, keep an eye on the color of the solution. When oxalic acid becomes saturated with dissolved iron, it may turn yellow-green. When this happens, replace it with a fresh solution. Otherwise, iron compounds may redeposit on the specimen as a yellow film.
After the soak, rinse the specimen thoroughly and place it in clean distilled water for two to three days. Change the rinse water several times each day. This step is important because acid trapped in cracks can continue reacting if it is not fully removed.
Before disposal, the acid should be neutralized. Slowly add baking soda to the solution until the fizzing stops. Once neutralized, the solution can be safely disposed of in a utility drain or on bare ground away from plants.
Oxalic acid works well for quartz crystals with heavy iron staining, Arkansas quartz, and iron-stained agates or geodes. It should not be used on calcite, malachite, or other soft carbonate minerals.
Method 5 — Ultrasonic Cleaner for Complex Surfaces
An ultrasonic cleaner is useful when dirt is trapped in areas that brushes cannot reach. These machines use high-frequency sound waves to create tiny bubbles in the water. When the bubbles collapse, they produce a gentle scrubbing action that removes dirt from deep crevices and crystal formations.
To use an ultrasonic cleaner, fill the unit with distilled water and add a few drops of mild dish soap.
Place the specimen in a mesh basket inside the cleaner rather than directly on the metal base of the machine.
Run the cleaner for five to ten minutes, then check the specimen. If dirt remains, repeat the process until the surface is clean.
Ultrasonic cleaning works especially well for quartz clusters and minerals with complex crystal shapes, where brushing could damage delicate points. However, ultrasonic cleaners are not suitable for all minerals. The vibration can damage fragile specimens or minerals that fracture easily. Fluorite, calcite, and selenite should never be placed in an ultrasonic cleaner. Specimens that already have cracks or loose inclusions should also be avoided.
Ultrasonic cleaning works best for durable minerals such as quartz, agate, jasper, garnet, tourmaline, and beryl, particularly when dirt is trapped in tight spaces that are difficult to clean by hand.
After Cleaning: Drying and Storage
Dry specimens completely before storage or display. Moisture trapped in fractures promotes mineral deterioration, particularly in pyrite, marcasite, and iron-bearing minerals, and causes white mineral deposits from tap water to form on surfaces as water evaporates.
Air dry in the shade on a clean towel. For specimens with complex crystal formations that retain water in crevices, a lamp positioned nearby or a food dehydrator set to very low heat dries specimens safely without thermal shock risk. Allow specimens dried with heat to cool slowly before handling or storage.
For long-term storage, keep cleaned specimens away from direct sunlight, as UV exposure fades colored minerals over time, particularly amethyst, rose quartz, and other colored varieties. Store away from humidity extremes, and use silica gel packets in storage containers for any pyrite, marcasite, or iron-bearing mineral.
Read More: How to Display Rocks and Minerals (Simple, Safe Ideas for Collectors)
Conclusion
Cleaning rocks and minerals is mostly about patience and using the right method for the right specimen. In many cases, simple soap and water will remove most of the dirt and reveal the real quality of the piece. When that isn't enough, treatments like vinegar for calcite coatings or Iron Out for iron staining can dramatically improve the appearance of a specimen without damaging it.
The key is to work from the gentlest method to the strongest. Always identify what you're cleaning first, test new treatments on a small area, and avoid jumping straight to aggressive chemicals unless they're truly necessary. With the right tools and a little patience, even the most ordinary-looking field find can turn into a display-worthy specimen.
Read More: How to Use a Rock Tumbler — Complete Beginner's Guide
Frequently Asked Questions
Is it safe to clean rocks with bleach at home?
Yes, diluted bleach is safe for hard inert minerals like quartz, agate, and jasper when used correctly. The important rules are: dilute it (one part bleach to ten parts water), rinse thoroughly afterward, never use it on pyrite or copper-bearing minerals, and never mix it with vinegar or any acid. Used on the right materials with those precautions, it is a routine household cleaning agent.
How do I know if a specimen is too fragile to clean at home?
If the specimen has visible fractures running through crystals, loose or detached crystal sections, or material that flakes off when touched, it is at risk of further damage from any cleaning method involving soaking or chemical treatment. Leave it dry and untreated, or take it to a local gem and mineral club meeting where experienced collectors can advise on appropriate stabilization treatment before cleaning.
What's the best first chemical treatment for a beginner?
Iron Out, without qualification. It handles the most common cleaning problem beginners encounter — iron staining — with less hazard than oxalic acid, requires no special disposal procedure, and produces good results on light to moderate staining. Buy a container of Iron Out before your first field trip, and you will be prepared for the majority of cleaning challenges that come home with you.